 I finally finished my Burlap wall project. It took a little while to assemble all the things I used in this collection, but it's done and I love it. And I only spent $5 on the shelf. Everything else I already had, or made. Here's the original post where I made the clock pieces.
After it was all done, my husband said it looks like something from a magazine. Sigh.
Here's the original Clock face I got from Graphics Fairy.
I combined her Clock face and Chocolate lable to create this combination.
I combined her Clock face and Chocolate lable to create this combination.

 Next I used the paper method I learned from Pottery Barn to decide where the elements would go. You can watch the how-to video here. I also marked where the studs were with the pink post-its.
I made these 5x7 graphics to go in my little black IKEA frames I had painted years ago. It was time to dig them out and give them a new life. The lyrics are from our song, Bless the Broken Road by Rascal Flatts. I used Jellyka Western Princess font. The keys came from Graphics Fairy and I added a script brush for the background in Photoshop. Just a little more vintage to the look. Then I printed them out on gray cardstock and cut them to fit my frames. I really love how they turned out. 

I needed a pretty knob for my sign so I made one out of a large head nail, glue dots and a vintage button I found in my button stash. Super easy to put together. Hammer the nail in place and add glue dot to the nail head. Then firmly press button in place and you're done. Super easy and totally customize-able!


Here's a close-up of the knob in place.

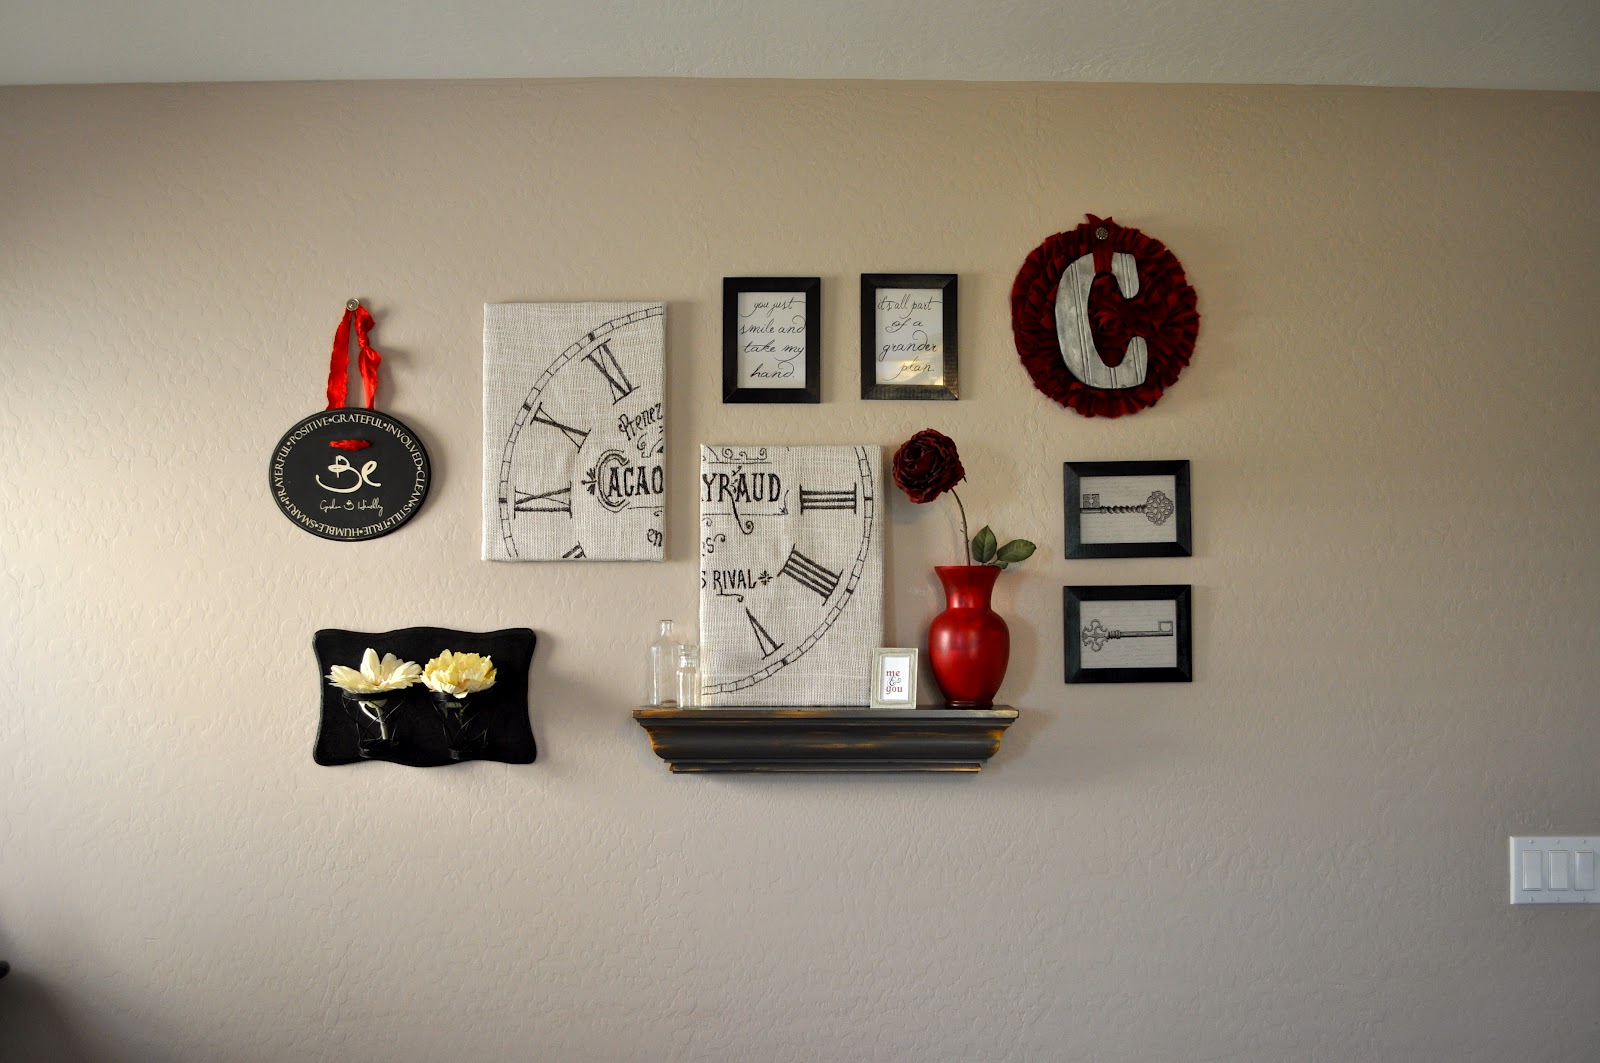
Here's the overall view. Now for the elements.

Vintage Keys.


Here's the Pottery Barn Shelf I got at a thrift store for $5 and refinished using vaseline and paint with some heavy distressing.
I super-love how it turned out!

This is actually cardboard and some ripped up sheets. I followed a similar method to when I made my Fabric Wreath. Only this time I just glued the ruffles in a circle spiralling to the center. I cut out the C from some scrap beadboard, painted it white, and stained it with ebony stain. The top is a vintage button with a plastic drapery circle to use for hanging all sewn together.

Last was this board that I cut, routered, and attached some clearance votive holders with cording. Then I filled them with some large cream colored silk flowers.

Here's a close-up of just the burlap clock. I added some vintage apothecary jars, a tiny frame and a large red vase to the ledge to finish the look.

And done. So pretty!


