 I love this Valentines project. It was simple, sweet, and I only used what I had on hand so it was free. I have been scouring Pinterest for ideas and liked some of them, loved some of them, but nothing fit what I had in mind. I hope you like it as much as I do. Plus you can make your own with the free Printables I have later in this post. Feel free to print as many as you like. I think I printed 2 pages of the larger postcards, and 3 pages of the small ones. Tomorrow I'll show you another way to use these when I show you my front entry. It's not quite finished but I'll have it by tomorrow. Anyway let's get started.
Here's the printables.
I made them 8 1/2 by 11 so you can print them out on a regular size piece of paper.
I used cardstock.


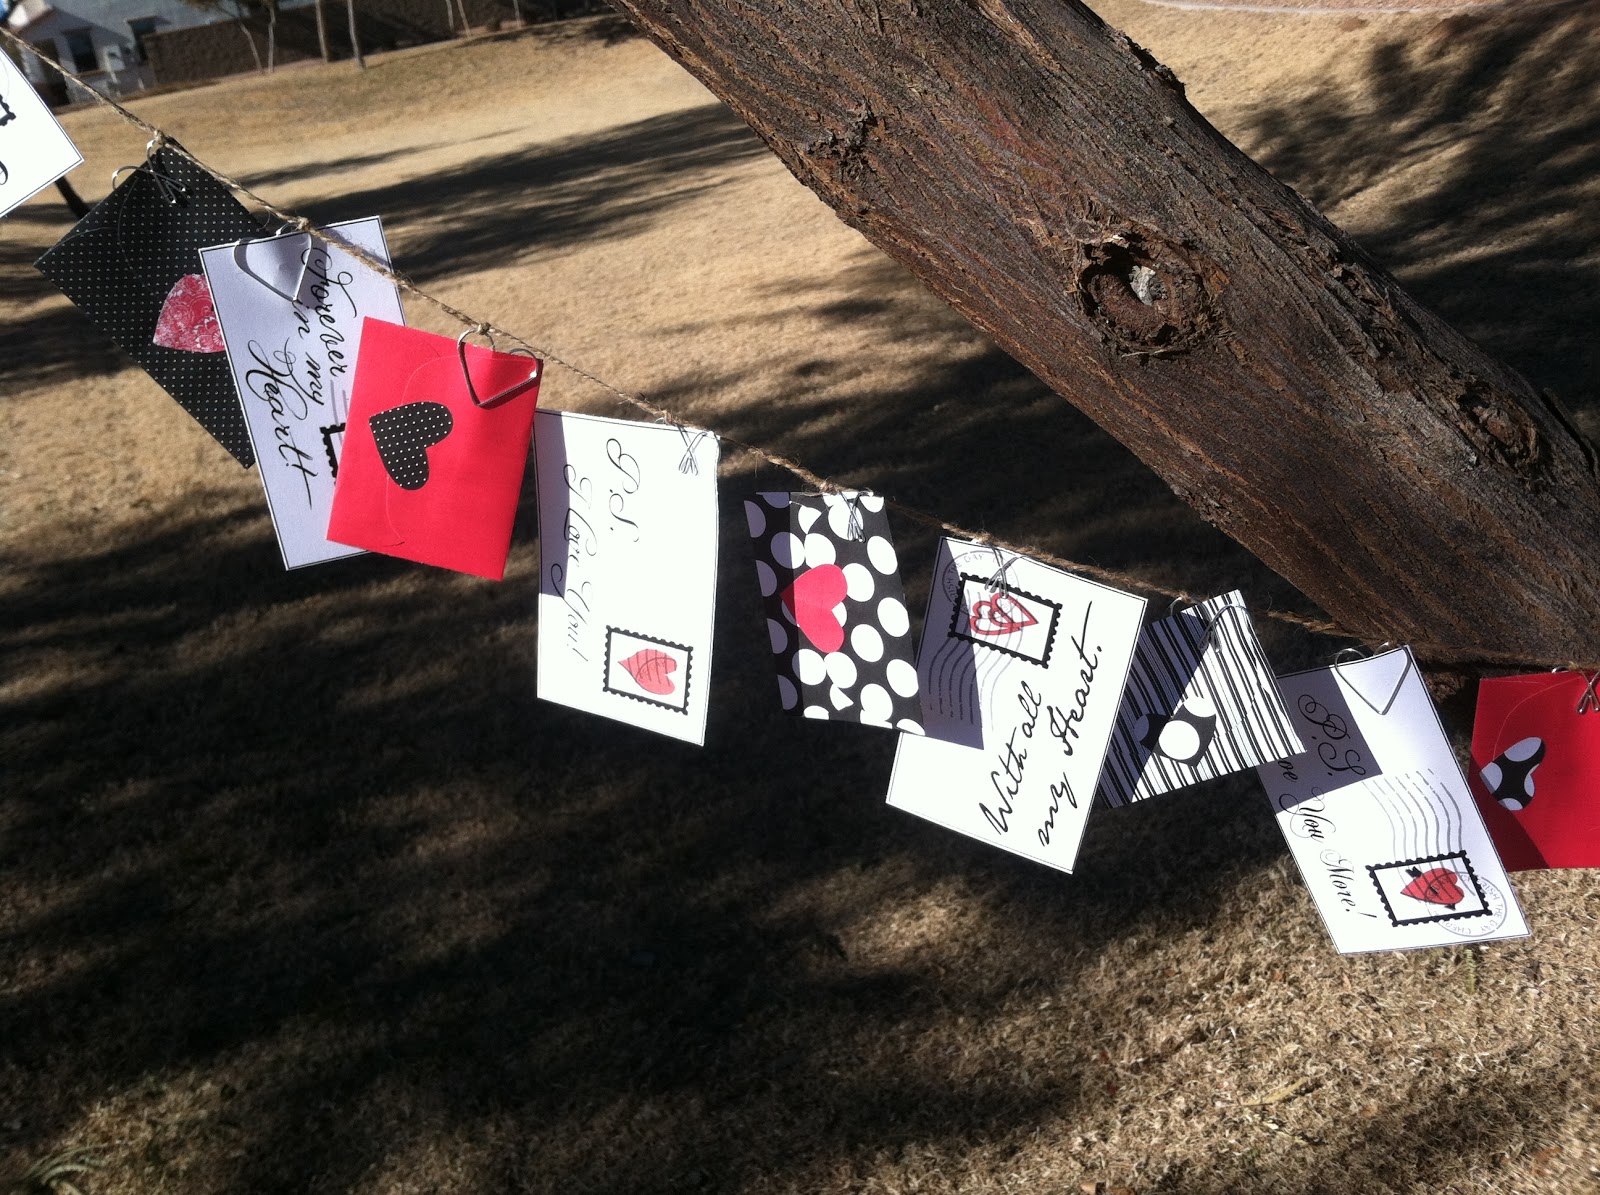
Now for the envelopes. The larger banner envelopes were made out of 6x6 inch pieces of scrapbook paper.
For the smaller ones, I used 4x6 inch pieces.
I cut and folded them like shown.

 Next I used the scraps from the large envelopes and cut hearts to add to the outside. I could have inked the edges, but decided not to. I glued each envelope closed since I won't be using them for regular things like actual love notes or gift cards.
I remembered I had these cute heart paperclips in my scrapbooking stash and had to use them.
You could also use regular paperclips.
I'm using jute to string them together.

Tie the paper clips with the jute in even spacing.
This keeps them from bunching together when you hang them up.

Slip the notes into the paper clips and you're done. You could easily save this for Christmas Cards for next year.


This is how I displayed my banner in my kitchen window.

I also made this love note tree with tie wire you can get at Home Depot for about $2.50 for a huge roll.
It's pretty easy to manipulate, although it does get your hands a little black.
A little soap and water takes care of that.

I formed little loops in the wire to tie the notes on with ribbon.
The wire was in 3 large about 3 ft length pieces then folded and twisted in the center to join the 3 pieces.
I used rocks from my front yard to anchor the wires in place and topped them with
glass pebbles to cover the rocks.

The side frames got some V-day printables that you can print for free too.
Some are Portrait and some are Landscape orientation.
Again they are 8 1/2 by 11 inches.


Happy Valentines!
Tomorrow I'll show you my faux mantle scape
and front door!

0 comments:
Post a Comment